

How to Paint Autumn Leaves in Watercolor
This autumn leaves watercolor tutorial explores one of my favorite seasonal subjects because autumn colors and textures give us so much freedom to experiment. Yellows can flow into oranges, reds can mingle with deeper crimson tones, and even touches of green can remain as the leaves begin to change color.
In this autumn leaves watercolor tutorial, we’ll explore how those flowing color transitions can be used to create a vibrant arrangement of maple leaves. Rather than trying to reproduce every tiny detail, the painting focuses on rich color, varied textures, and the beautiful effects that watercolor can create when pigments are allowed to mingle on the paper.
One of the things I particularly like about this subject is that it doesn’t demand perfection. Real autumn leaves are full of irregular patches, spots, changing colors, and unpredictable textures. A bloom, uneven wash, or unexpected mixture of colors can often add character rather than spoil the painting. That makes this a lovely subject for practicing wet-on-wet watercolor while becoming a little more comfortable with letting the paint do its own thing.
Letting Autumn Colors Mingle on the Paper
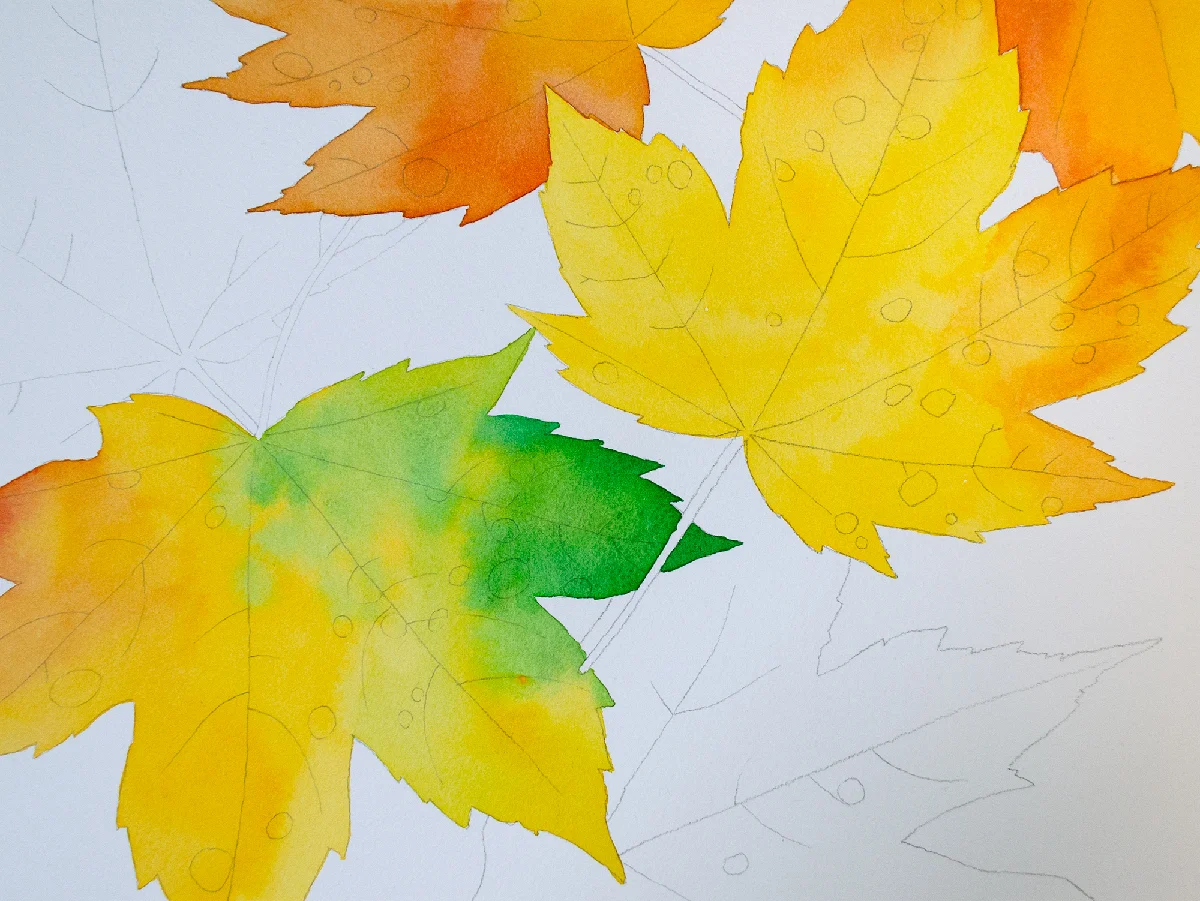
One of the most enjoyable parts of painting autumn leaves in watercolor is allowing several colors to interact within a single leaf. Instead of thinking of a leaf as simply yellow, orange, red, or green, I like to look for opportunities to introduce subtle shifts in color while the paint is still wet.
I begin with light, transparent washes and gradually introduce other colors into them. Because the paper is still damp, the pigments can spread and mingle naturally, creating soft transitions that would be difficult to reproduce by carefully painting each variation separately.
This is where watercolor can do some of the work for us. We can guide the paint by placing colors where we want them, but we don’t have to control every little movement. Those slightly unpredictable transitions, blooms, and irregular patches are particularly well suited to autumn leaves, which are rarely perfectly even in color anyway.
Building Richer Colors in Layers
Once the initial washes are completely dry, I begin strengthening the colors with additional layers. This allows me to increase the intensity gradually while still preserving some of the lighter, more luminous areas underneath.
Layering is particularly useful with autumn leaves because their colors are rarely uniform. A yellow leaf might contain warmer orange areas, while a red leaf can shift between scarlet, crimson, and deeper shadow colors. Even the green leaf contains warmer tones that hint at the changing season.
One useful approach is to begin some of the warmer leaves with yellow before introducing red in later layers. The yellow underneath can help the red appear especially vibrant and luminous, rather than heavy or flat. By allowing some of those earlier colors to remain visible, the leaves develop much more variety and life.
Using Negative Space to Define the Leaves
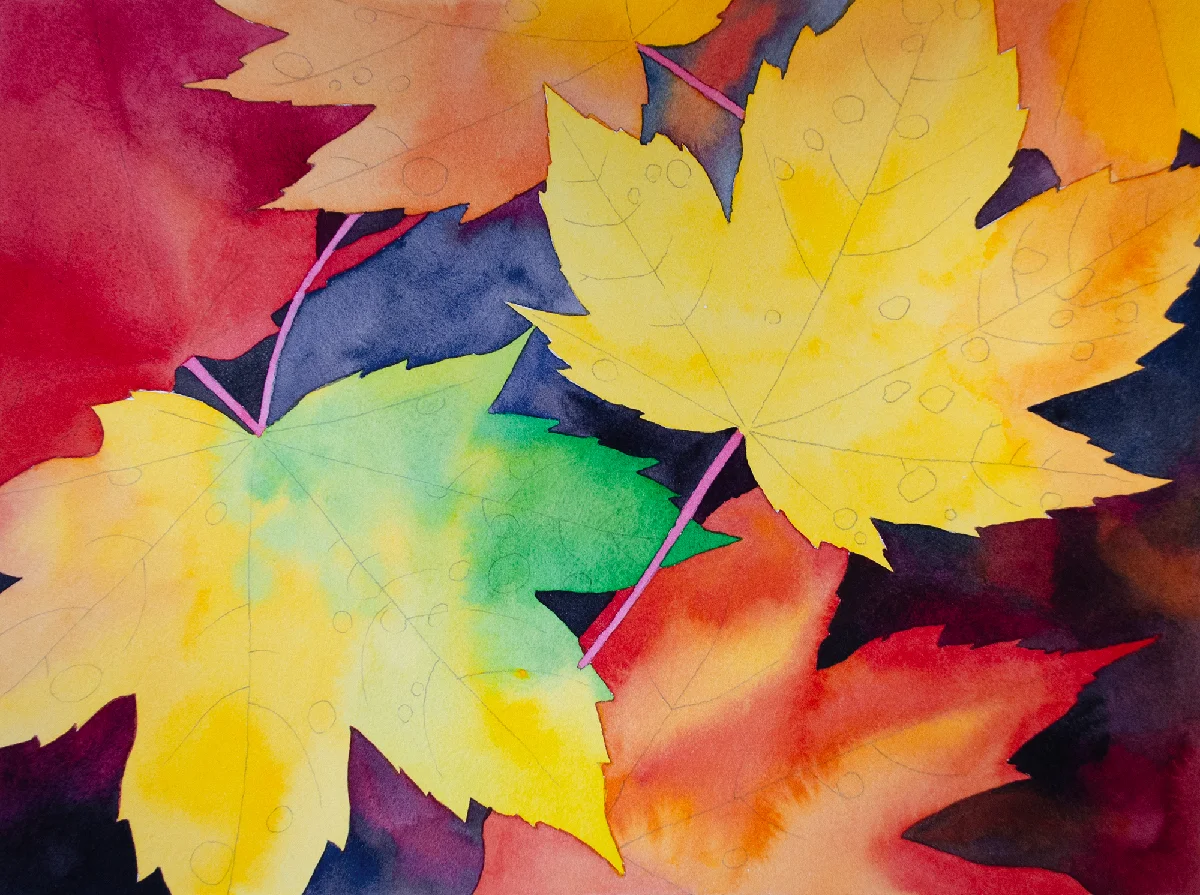
As the colors develop, another important part of the painting begins to take shape: the dark spaces surrounding and separating the leaves. Instead of outlining every leaf individually, I can use these darker areas to define their edges and make the overlapping shapes easier to read.
This creates a strong contrast between the luminous autumn colors and the much darker background. Some edges remain soft or disappear into neighboring shapes, while others become much more clearly defined. That variety helps prevent the composition from looking like a collection of individually outlined leaves.
The darker areas also change the way we perceive the colors. Yellows, oranges, and reds that may have looked relatively pale on the white paper suddenly appear much brighter once deeper values are placed beside them. It’s a useful reminder that in watercolor, a color doesn’t exist in isolation—what surrounds it can dramatically affect how light or intense it appears.
Adding Veins and Structure to the Leaves
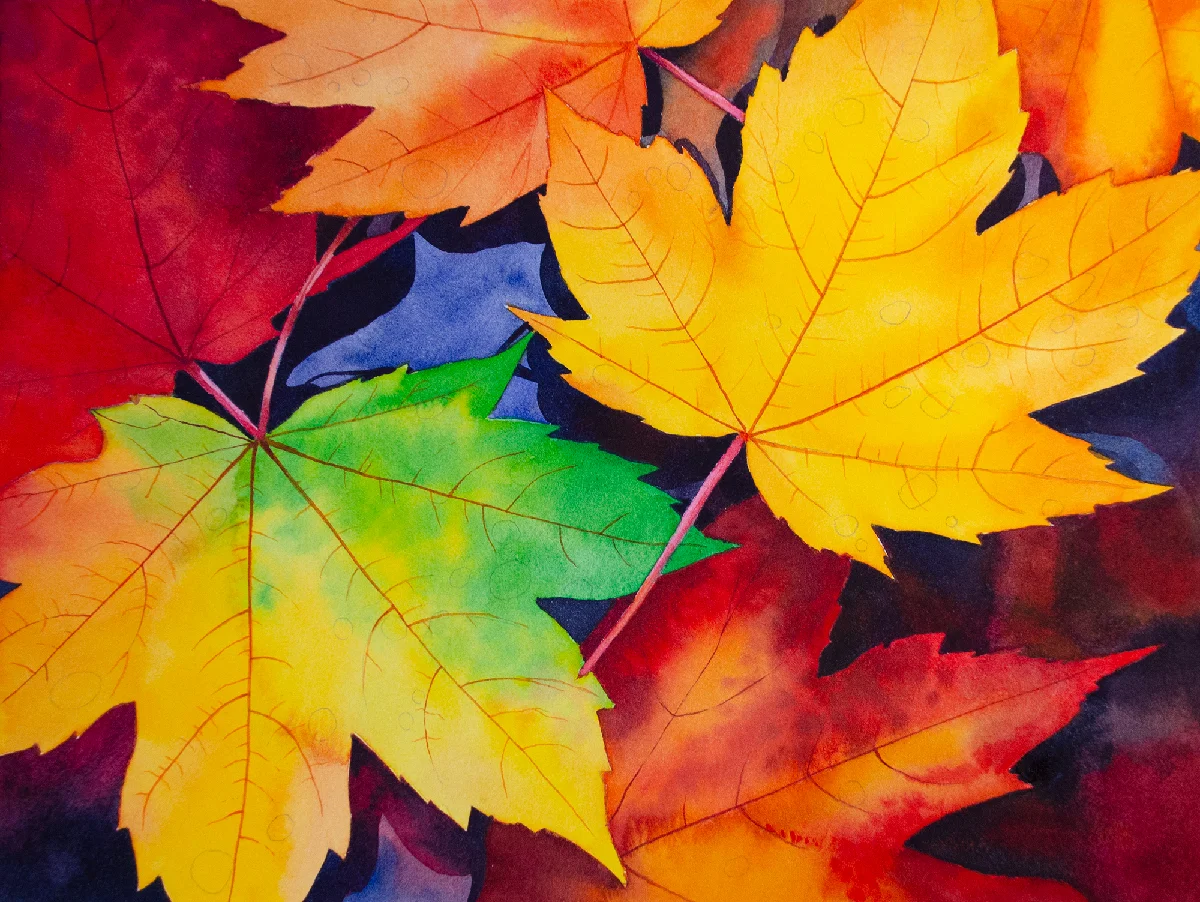
Once the main colors and darker surrounding areas are established, I can begin adding the finer structures that make the individual leaves more recognizable. The veins are especially important, but I prefer to add them relatively late in the process rather than defining them too early.
At this stage, the larger shapes and color variations are already doing most of the work. The veins can then be painted selectively, following the natural direction of each leaf without turning every tiny vein into a hard line. Varying their strength and allowing some to remain less noticeable helps them feel integrated into the painting rather than drawn on top of it.
Small shadows alongside some of the veins can also create the impression that they are slightly recessed into the surface of the leaf. It’s a subtle effect, but it adds another layer of dimension and helps transform the earlier washes into leaves that feel much more structured and three-dimensional.
Painting Water Droplets on the Leaves
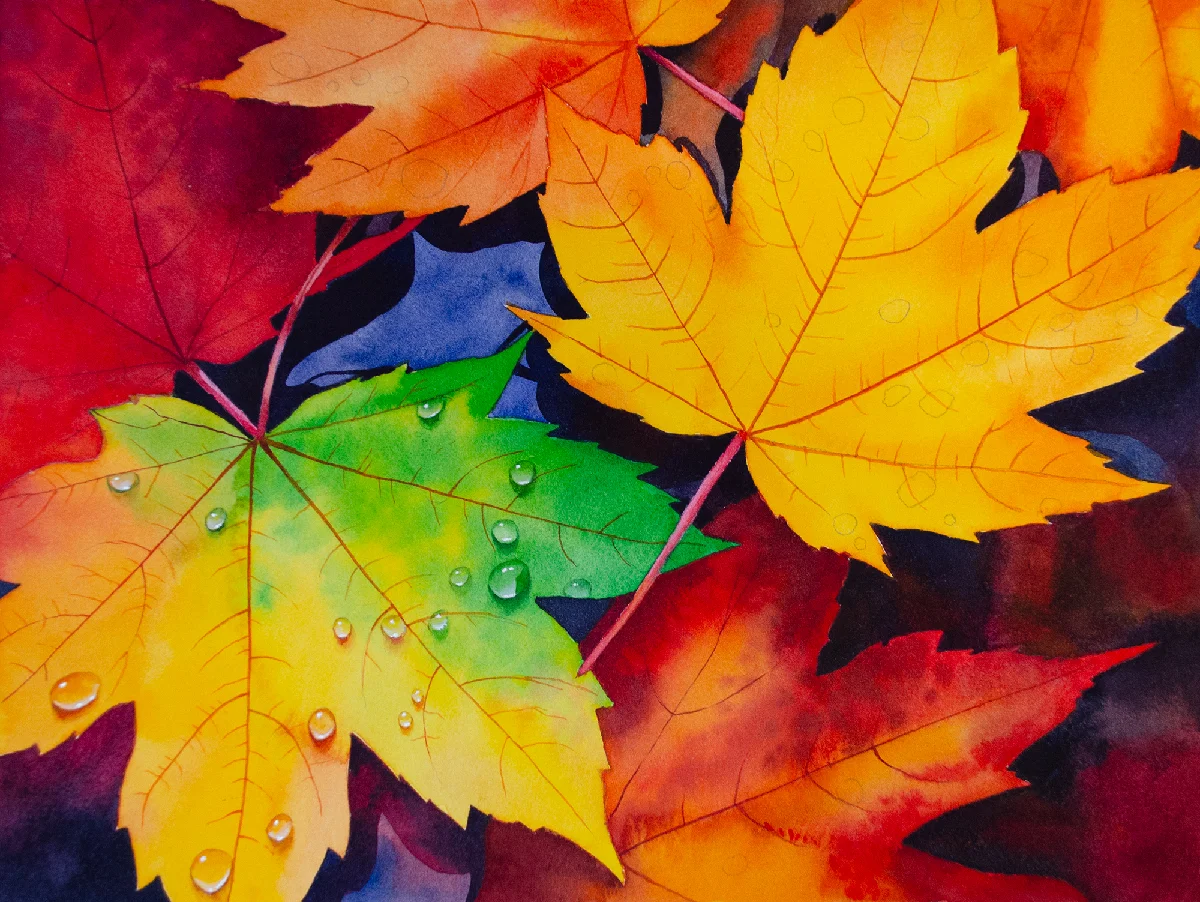
The water droplets are one of the final details I add to the painting. They aren’t essential to the composition, but they introduce another layer of texture and give the leaves a wonderful sense of freshness and dimension.
The illusion of a transparent droplet comes mainly from contrast rather than from painting the water itself. By carefully adjusting the light and dark values within and around the droplet, we can suggest its rounded form and the way it catches and refracts light. A small highlight can then make the surface appear glossy.
I demonstrate two different ways of creating the droplets in the complete tutorial, but whichever approach is used, I prefer to save them until the leaves themselves are essentially finished. This makes it easier to judge where a few droplets will enhance the composition without overwhelming the beautiful color variations and textures underneath.
Knowing When the Painting Is Finished
Near the end of a painting, I find it helpful to stop focusing on individual leaves and look at the composition as a whole. At this stage, I’m no longer asking whether every vein or tiny detail is perfect. Instead, I look at the larger shapes, the balance of light and dark areas, and whether the leaves have enough depth and separation.
Sometimes a leaf needs a slightly darker shadow, a stronger edge, or a little more color to bring it forward. Other areas may already be doing exactly what they need to do and are better left alone. This final assessment is less about adding more detail and more about deciding where a small adjustment can make the painting feel more dimensional and complete.
And perhaps most importantly, this is also the moment to know when to stop. Watercolor can easily lose some of its freshness if we continue refining every little area. Leaving some of those spontaneous washes, color transitions, and irregular textures visible is part of what gives the finished autumn leaves their character.
Paint the Complete Autumn Leaves With Me
Painting autumn leaves is a wonderful opportunity to explore what watercolor does best: transparent layers, flowing color transitions, soft and hard edges, and those little unexpected effects that happen when pigments mingle on the paper.
If you’d like to see the painting come together, you can watch the short preview below for a few glimpses of the process.
The complete step-by-step Autumn Leaves tutorial is available in my Online Watercolor School. In the full lesson, I guide you through the entire painting from beginning to end, including building the initial washes, deepening the colors, painting the dark water between the leaves, adding veins and stems, creating the water droplets, and making the final adjustments. Members also receive the reference materials, line drawings, and work-in-progress images to help them follow each stage of the painting.
Want to Paint the Complete Tutorial?
The complete step-by-step version of this painting is available to members of my Online Watercolor School. In the full tutorial, I’ll guide you through the entire painting process from beginning to end, with the reference photo, line drawing, work-in-progress images, and everything you need to paint along at your own pace.


